Making a simple Gamepad Web Component
Web Components 101
Para la versión en español, presiona aquí.

different states of the web component
I recently started working on an WebXR demo that would adapt to different platforms and available hardware configurations. The challenge here lies in making the most out of what you have available, and not dismissing some common devices that might aid or enhance the immersive experience. One of my favorite devices to add to the mix of Web applications is the gamepad. I find it so appealing because it’s far more common that many other hardware devices (you might even have access to one), it has a great support among browsers, comes in many shapes and sizes, and it has a known interaction model for many people (press a button and it’ll do something).

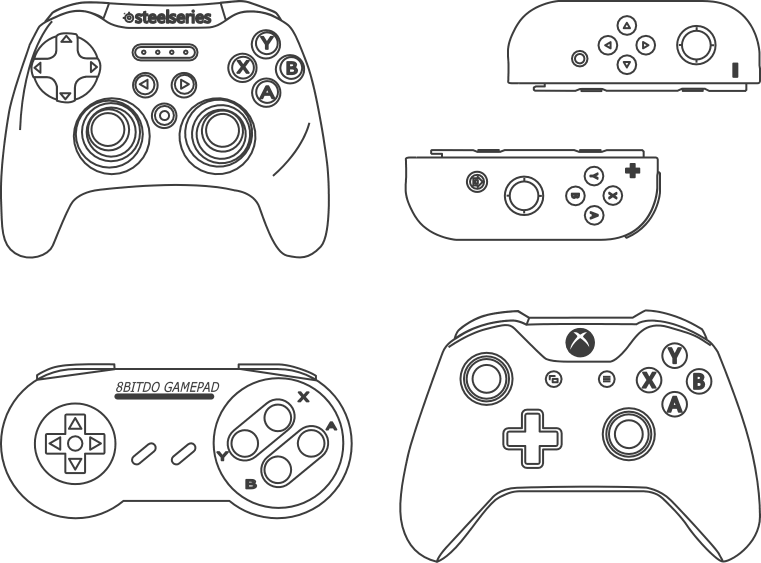
Gamepads. They’re more common than we think!
These characteristics make gamepads great devices to incorporate in the immersive demo I am coding (and in your projects). Now, while using the gamepad is relatively easy, it would be nice to abstract all the setting up and even provide a nice UI/badge that would show the state of the gamepad connection itself.
In a world of buzzwords and frameworks, it’s sometimes hard to identify a good option that will stand the test of time and tech. And while thinking on how to do this, I remembered a talk by Gil Fink on Web Components last year, and decided to give it a try to wrap some of the functionality of the Gamepad API, along with a nice GUI indicator. All this wrapped into a nice package which you can just drop into an HTML page and works seamlessly.
Welcome to Making a simple Gamepad Web Component 101.
Having said that, this is my first encounter with the technology, eager to see why maybe I should bet on Web Components as well. Welcome to Making a simple Gamepad Web Component 101.
The web component
Something to know before starting. “Web Components” is a set of technologies that allow you to create reusable custom user interface or behavior components. These technologies are Custom Elements, Shadow DOM, HTML Templates and HTML Imports.
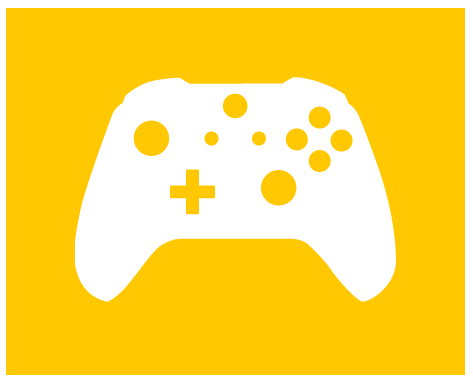
Thinking about our simple example, we are creating a web component that initializes the Gamepad API in a webpage and sets a badge that can show the state of a Gamepad. This badge will be a white silhouette of a gamepad with a background in green (connected), yellow (awaiting connection) or red (not supported).

element in a web page in awaiting connection state
Custom Elements allow you to create a ‘element’ that encapsulates functionality. You can [read all about them here](https://developer.mozilla.org/en-US/docs/Web/Web_Components/Using_custom_elements), but for our interest all we need to know is that custom elements is the technology that allows us to create our own elements with custom ‘tags’ (the tag that is) that do something. As a useful piece of info, all newly invented tags must have at least a dash “-”.
Shadow DOM, is the one that permits us to create the DOM structure associated to the element, and this as a separate tree from the one of the main document. In our basic example, it consists of a div and an image (SVG icon of gamepad). This separate DOM tree also includes the styles that will change the background color of our component. You can read about [Shadow DOM here](https://developer.mozilla.org/en-US/docs/Web/Web_Components/Using_shadow_DOM).
Templates are not used in this first example, but using HTML templates and slots is a very powerful way to create more complex components. Since I am only using a div and an image, I wont be making use of them in this intro. But in a following post I will upgrade this component to show as many connected gamepads as connected to the browser. For this one, making a template will make sense because we will have repeating GUI (one badge per gamepad detected) in the page. You can [read about HTML templates and slots here](https://developer.mozilla.org/en-US/docs/Web/Web_Components/Using_templates_and_slots).
We wont enter to discuss HTML Imports at the moment, due to the fact that there is not consensus on the standard itself, so for the moment I will try to keep all the component self contained in the JavaScript file. For support in browsers that do not support some of the technologies stated above, I am using the [WebComponent Polyfill found here](https://github.com/WebComponents/webcomponentsjs).
### How to create the component
In order to create our web component, we must create a class that will define behavior and appearance for our component. I created a class named ‘GamepadWrapper’, that extends an HTMLElement.
class GamepadWrapper extends HTMLElement
In this class we will attach a ShadowRoot element and build the structure of our element. This is done in the constructor of the element we are defining.
constructor(){
super();
let shadow = this.attachShadow({mode:'open'});
(...)
}
Once this is attached, we can start creating the desired structure, which again, in our case is a div, an image and styles to apply to them. [See code here](https://github.com/SamsungInternet/game-pad/blob/master/js/gamepad-comp.js#L8). Notice that the structure is created in the same way you would dynamically create elements with JavaScript. These are all appended to the (shadow)root. I have also included in the component code that checks if the API is supported, and registered the gamepad connection and disconnection events. These will be used to change the color of the background of the component using CSS classes.
Then we need to register the custom element we will want to use. I have chosen ‘game-pad’. Notice the [dash in the middle](https://stackoverflow.com/questions/22545621/do-custom-elements-require-a-dash-in-their-name), as required by the [spec](http://w3c.github.io/webcomponents/spec/custom/#custom-elements-autonomous-example). You’ll also need the associated class that we created before as well.
customElements.define('game-pad', GamepadWrapper);
The first argument is the name we are giving to our component and the second argument is its associated class.
#### Using the web component

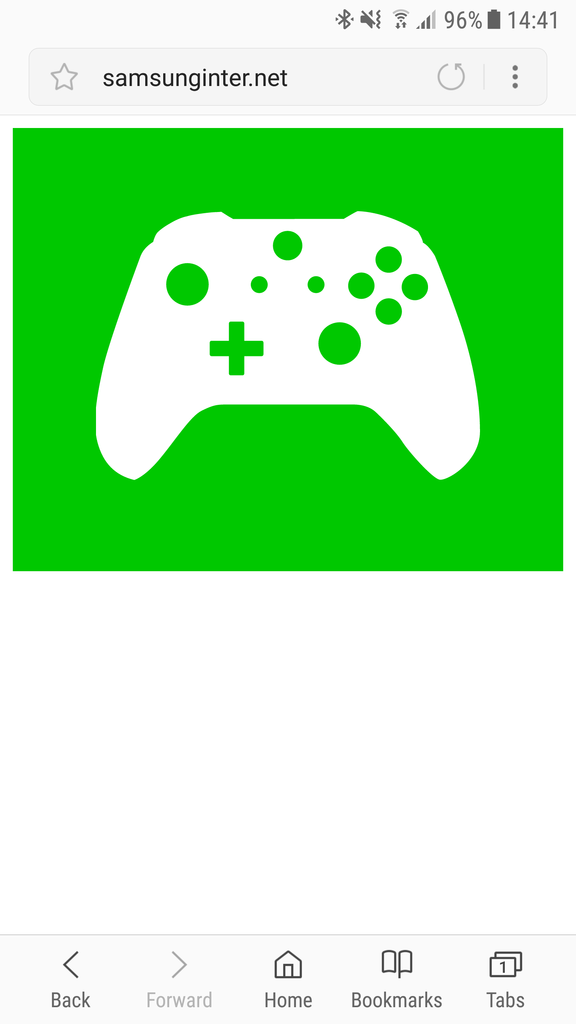
component running in Samsung Internet with connected controller
We can test locally that a page with a source like the one below will run and display a big gamepad badge.
Remembering that the [specification is still very green](https://developer.mozilla.org/en-US/docs/Web/Web_Components/HTML_Imports) and not supported by some major browsers, we will use the [webcomponentsjs polyfill](https://github.com/webcomponents/webcomponentsjs). In order to use this component we simply include the JavaScript file in the head of our file. Do take into consideration that there are different files depending on the features you want to polyfill. At the moment, you can go with the ‘ [webcomponents-sd-ce.js](https://github.com/webcomponents/webcomponentsjs/blob/master/webcomponents-sd-ce.js)’ since it includes shady DOM that allows scoped styling (but it is a bit bigger than the others).
The component itself takes care of initializing the Gamepad API, and sets an object named gamepads that has a reference to the connected controllers. You can set up in your script a RequestAnimationFrame that polls on the objects of gamepads and check for status of buttons and axes to control your web app.
#### In summary…
As a total newcomer to building a Web Component, I’ve been pleasantly surprised at how easy and quick it was to build one. It’s rewarding to think that it is code I can keep on reusing in different applications, and that maintaining it will can be easier than updating every single copy of code that I might have out there. Web Components is a bright idea that can’t come (in a proper standard way) any sooner! For reference, [here is a link to the code](https://github.com/SamsungInternet/game-pad).
If you’re keen on more info, check out some lessons learnt by [Ruth](https://medium.com/u/1bf712acd447) and [Ada](https://medium.com/u/c2890cdd7a64) when they built their [DJ web app](https://medium.com/samsung-internet-dev/lessons-learned-making-our-app-with-web-components-bf55379cfcda). I will also follow up with an example that builds on this one by adding sizing and custom icons by the user.
Tagged in [Web Development](https://medium.com/tag/web-development), [Gamepad](https://medium.com/tag/gamepad), [Web Components](https://medium.com/tag/web-components), [Samsung](https://medium.com/tag/samsung)
By [Diego González](https://medium.com/@diekus) on [March 5, 2018](https://medium.com/p/23b2ac262f56).
[Read this article on Medium](https://medium.com/@diekus/making-a-simple-gamepad-web-component-23b2ac262f56)


