Hello Post Processing!
Enhancing rendering fidelity for immersive applications
Editor’s note: This post welcomes to the Samsung Internet Developer Advocacy team. Yannis will be building prototypes and proofs-of-concept using immersive web technology. We’re excited to have Yannis on board with us! -Daniel Appelquist
When building an immersive application, on the web or otherwise, we can enhance the fidelity of our rendering by applying post processing effects.
The process is simple conceptually. We start by redirecting the rendering of scene objects into a texture, instead of directly on the screen for viewing.
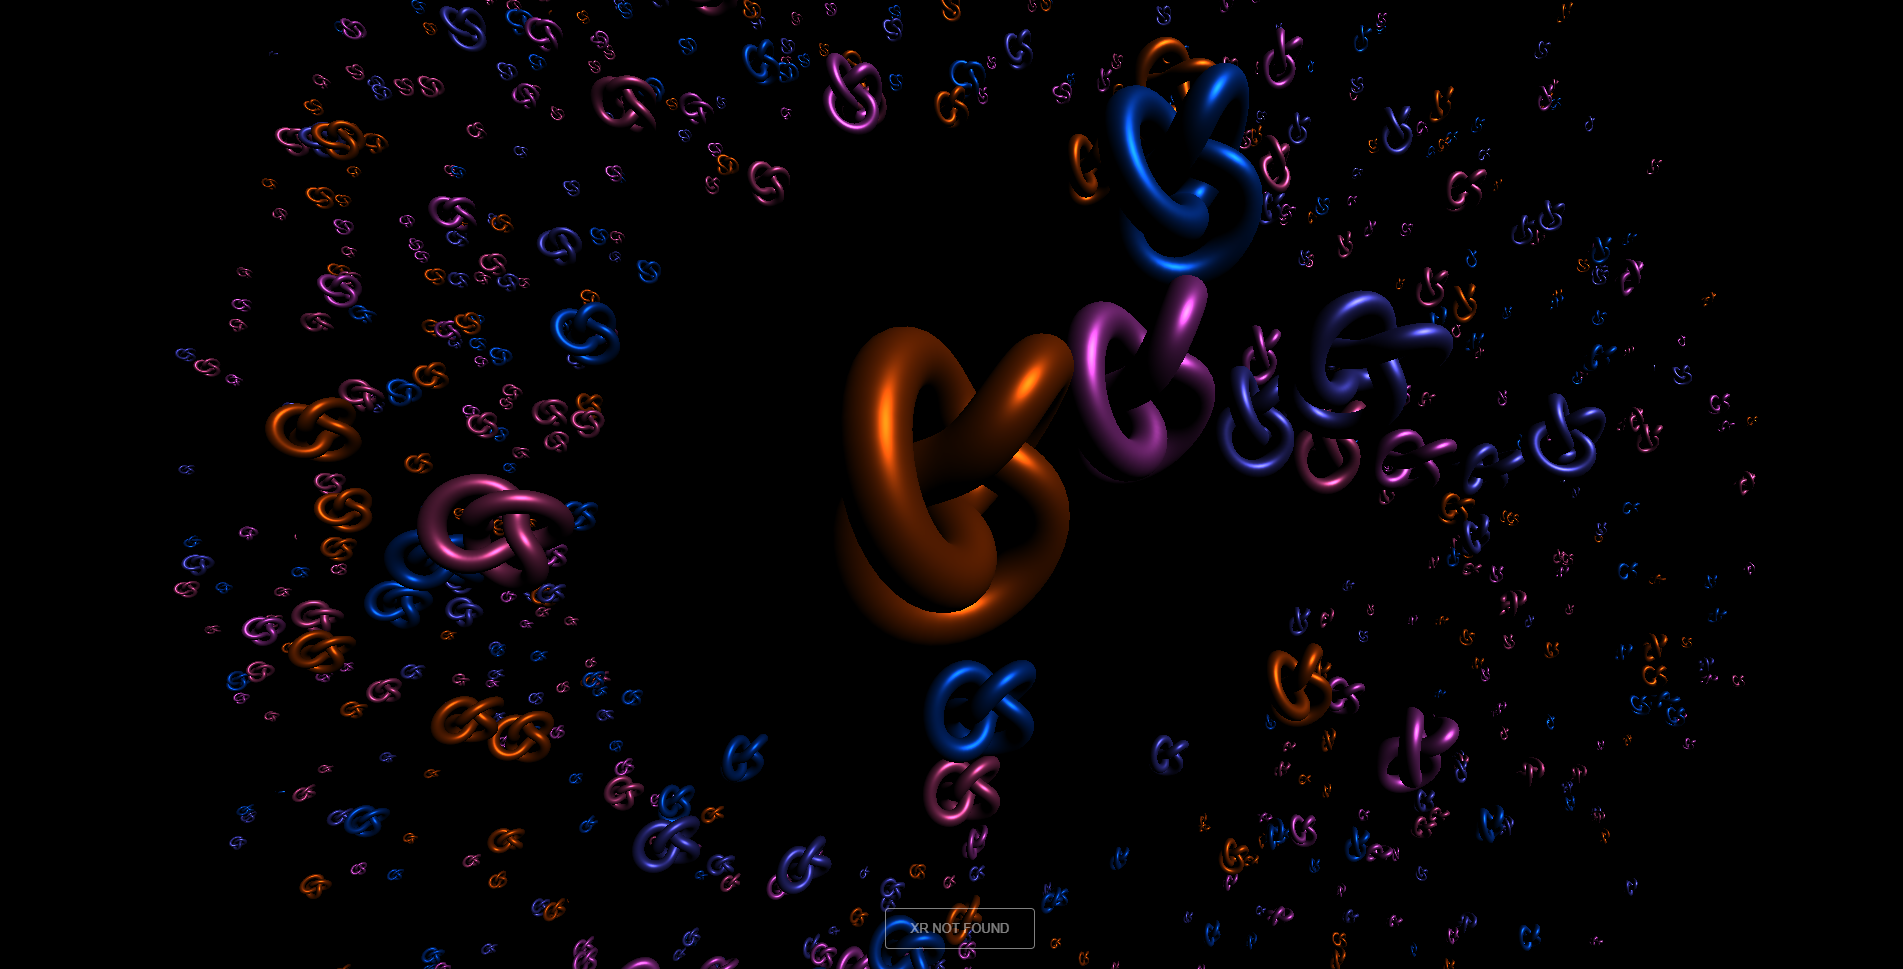 Original scene color
We then apply filters on the base rendering as if it was a photo. All kinds of blurs are among the most popular filters and form the basis for several effects.
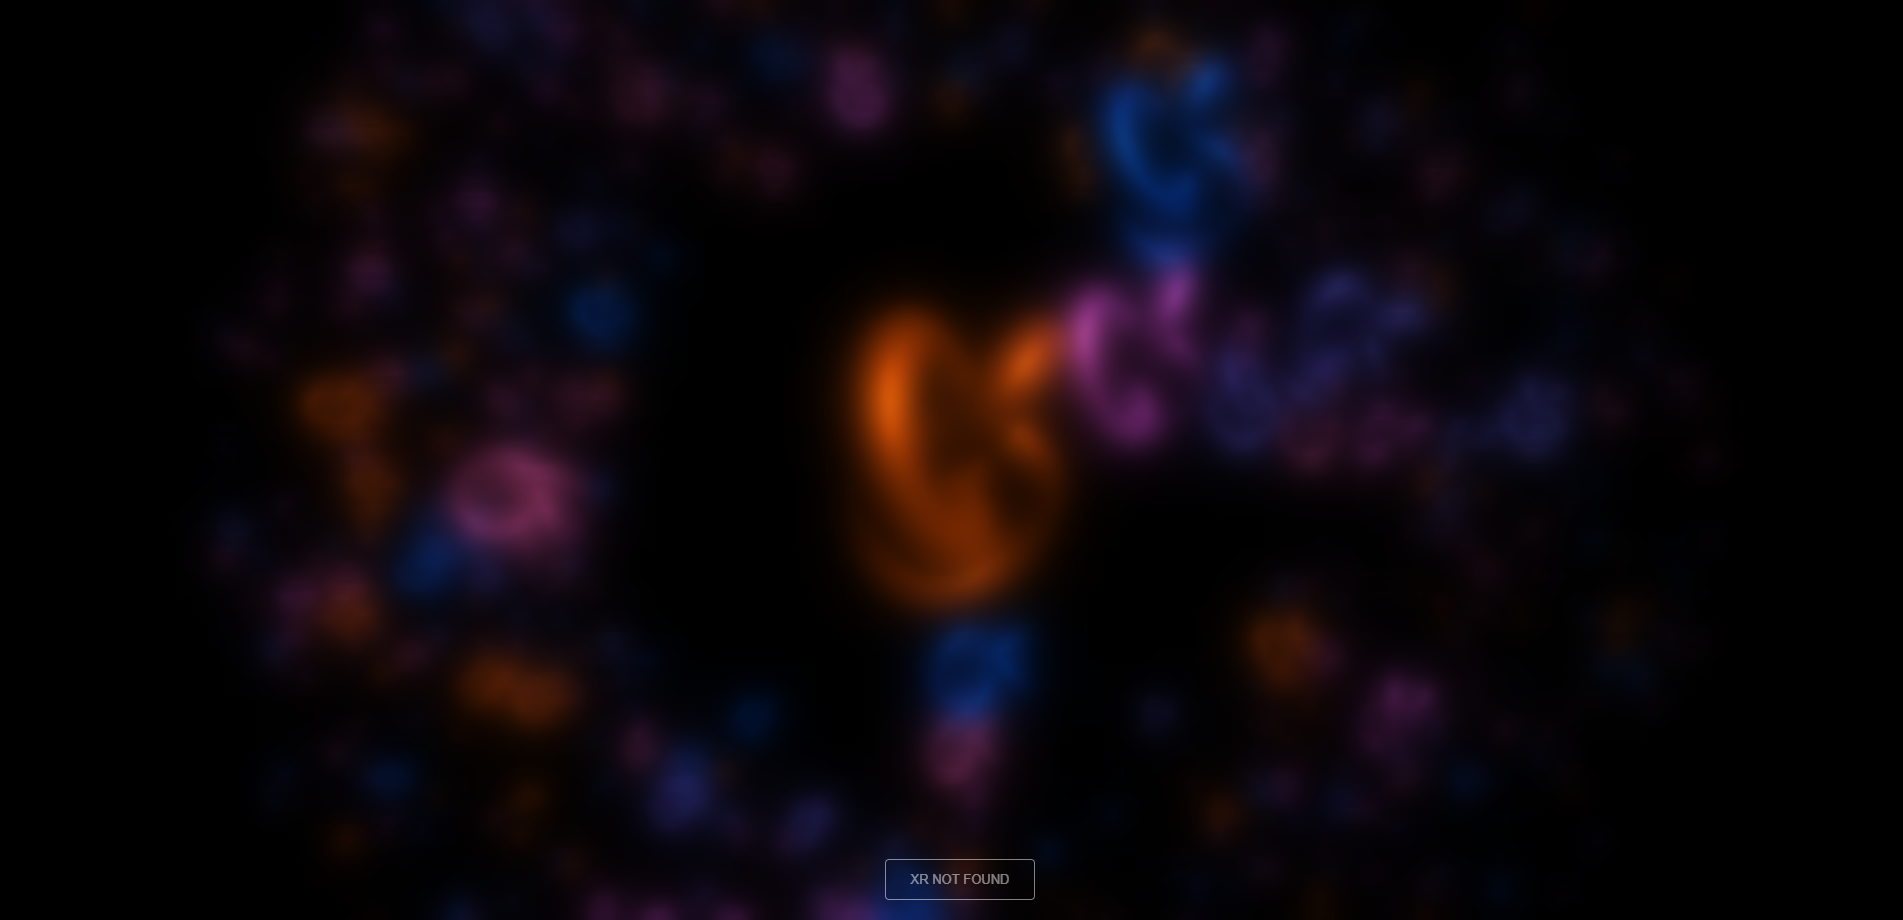 Original color blurred
As an example, we can just add the blurred version to the original color and output to screen to get a nice glow/bloom effect. This is a well known trick in the world of graphic design and cheap enough to apply in real time.
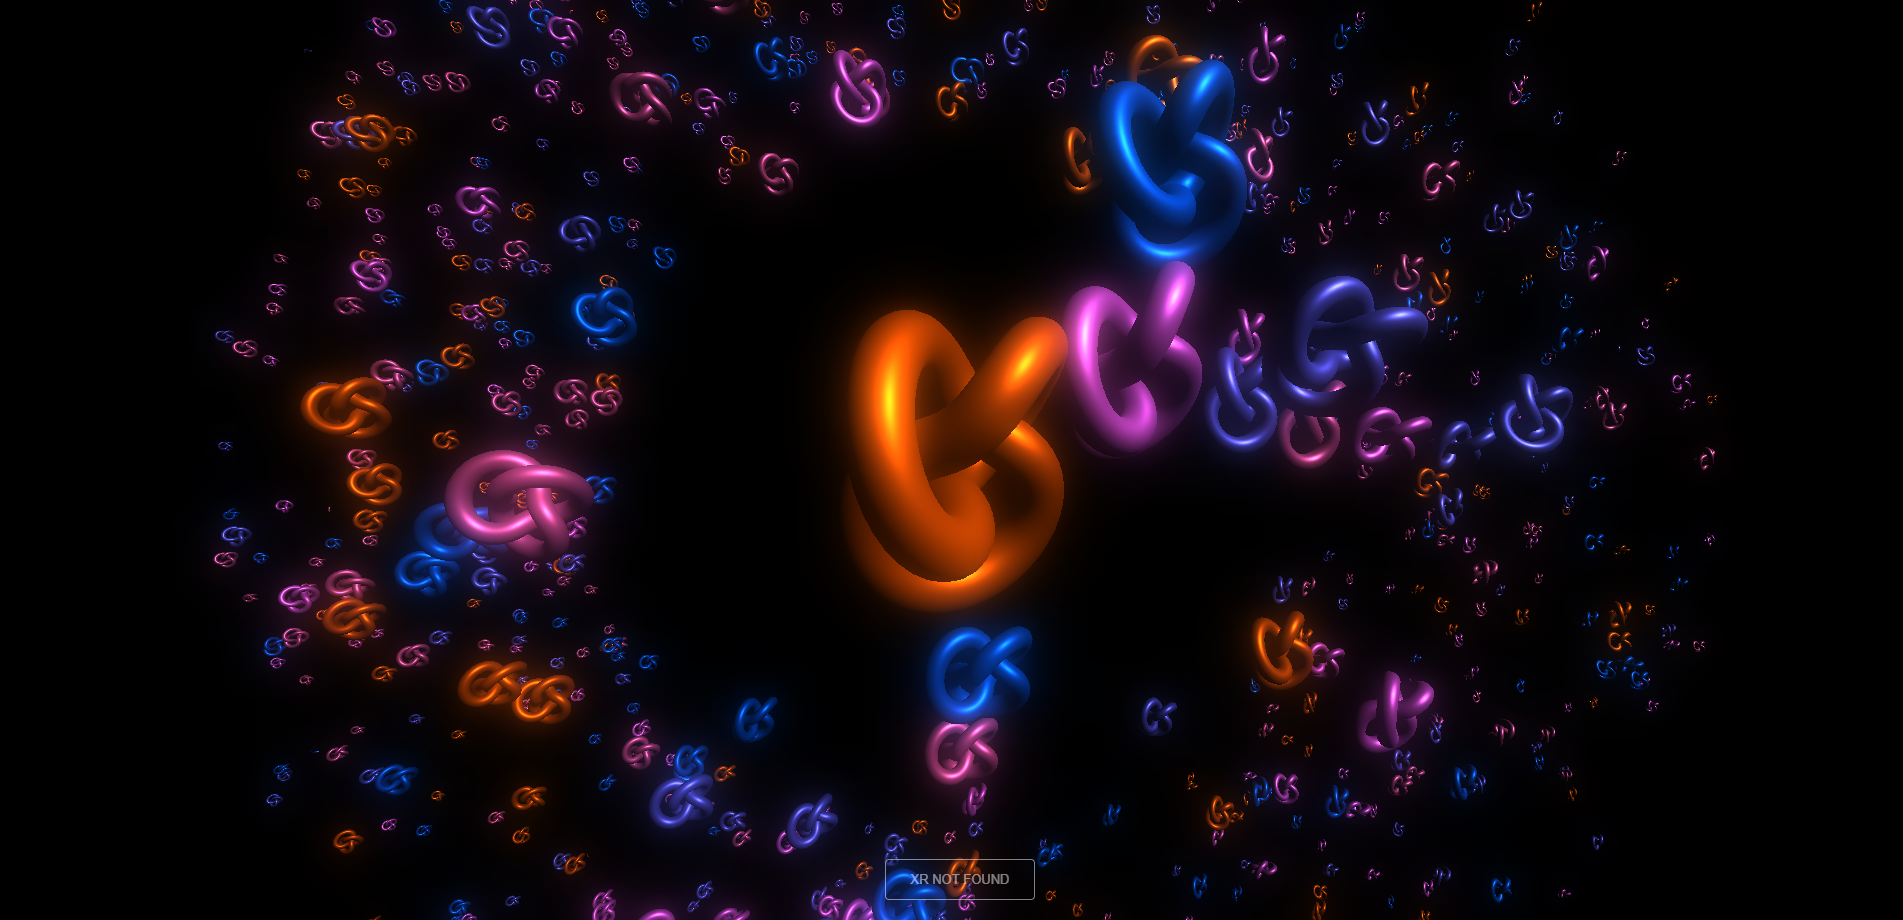 Blurred version added to the original color
The rendering of the original scene does not result only in a texture with color information. We also get another grayscale texture, the depth map, for free.
While drawing, the rendering system automatically keeps reference of the depth/distances of drawn pixels from the camera. If new pixels are overlapping older but are further away they are discarded, saving the overhead it would take for the system to calculate their color.
This is a fundamental optimisation in 3D graphics and even though the depth map is just a by product, it turns out to be very useful in post processing.
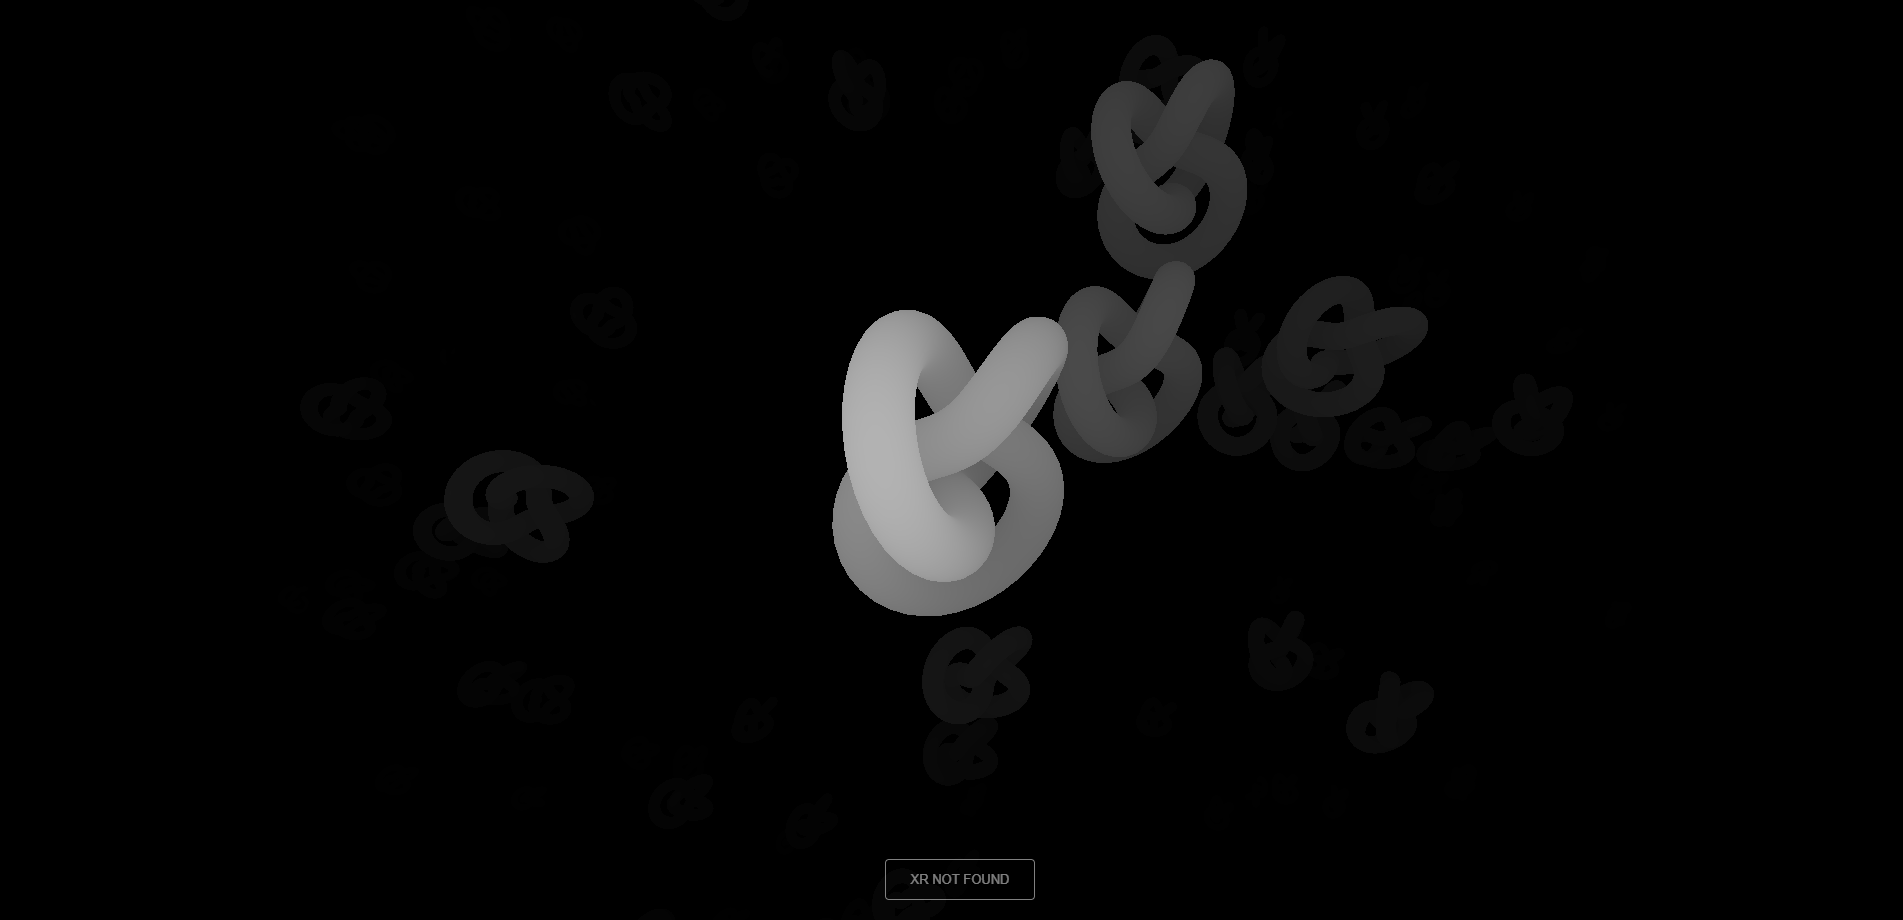 Depth map of the scene
For instance, by mixing the blurred image with the original according to the depth of the rendering we can achieve a focusing or depth-of-field effect.
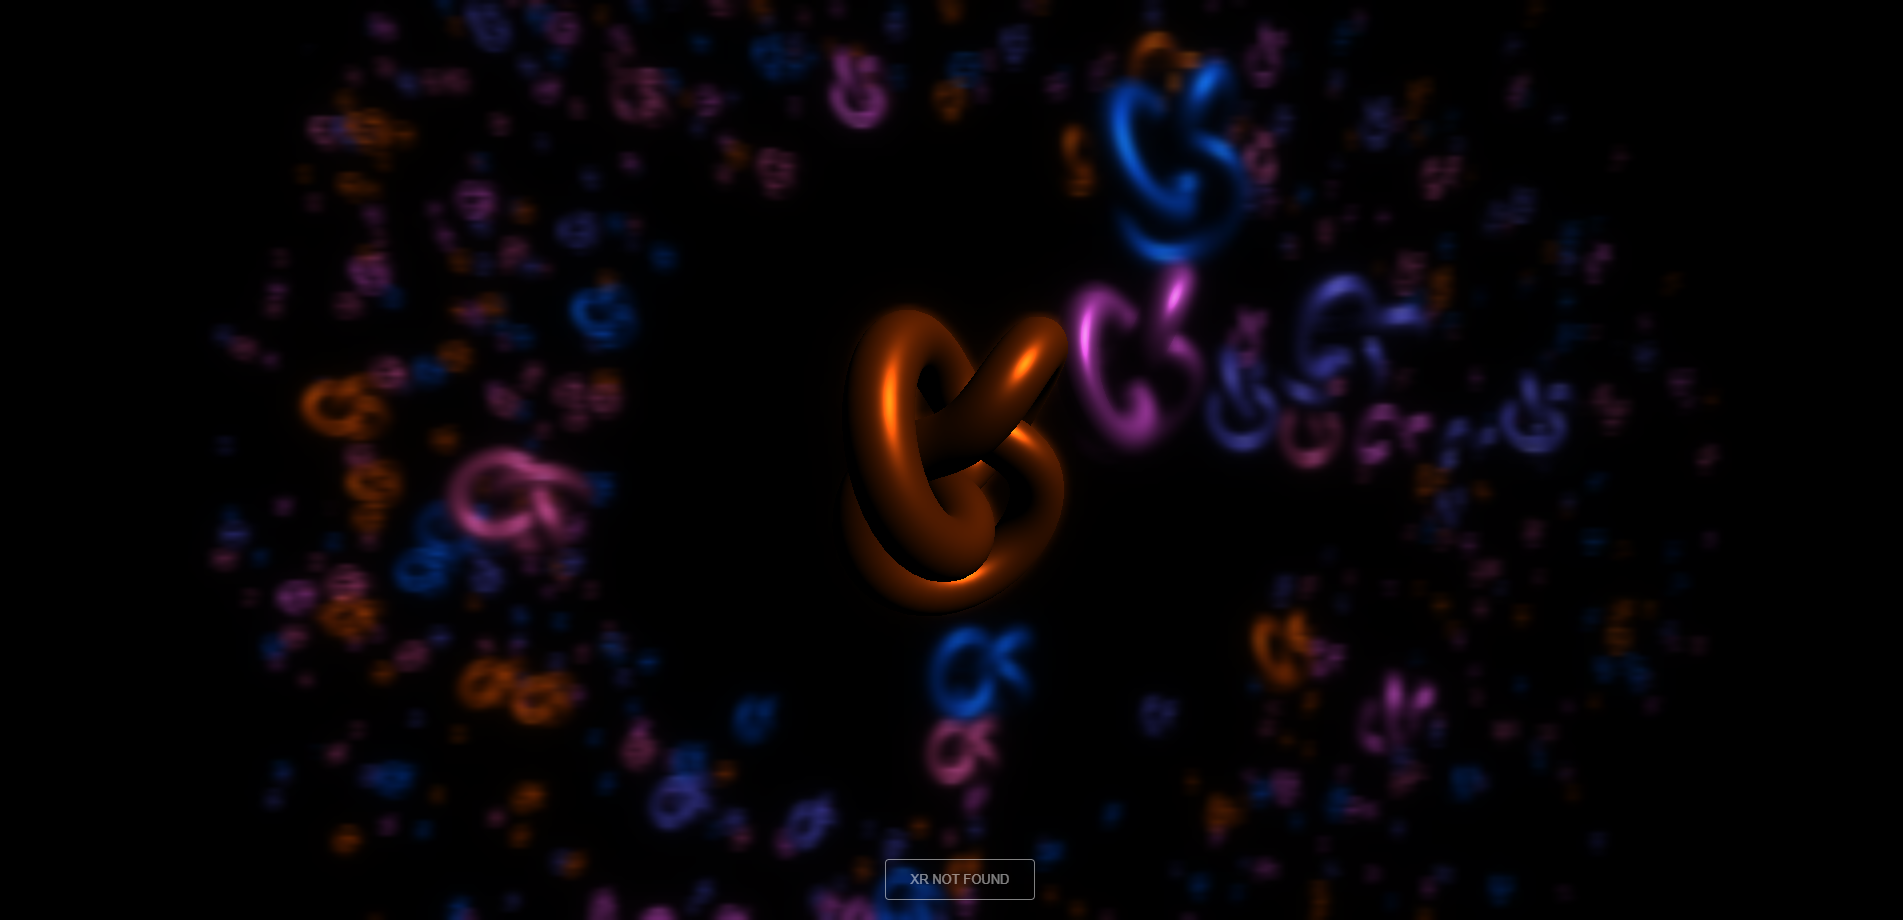 blend the original color with the blurred version based on depth
The depth map enables a variety of effects that highlight volume in a scene, like outlines and ambient occlusion. We will deal with all these in next posts.
The images for this post were produced using three-effects, our home brew framework for developing applications using the popular Three.js library.
Three-effects comes with several builtin effects and we’ll get to see hands on each one of them in the next posts. For now, you can check the code for this post’s demo and find out more about the framework in the github repo.
By Yannis Gravezas on November 11, 2019.
